

A good friend of mine had a glitch the other day while
moving around some digital photos and lost them. That is just about the worst feeling in the
world! These days we are all using
digital cameras. We have photos on our
phones. But apparently not everyone
knows what to do next. I keep hearing about people just keep buying more memory
cards because they are afraid to download their photos! Pictures are no fun when they are on a memory
card. They need to be displayed and
seen!
I am pretty passionate about photography and memory
keeping. I come from families that took
LOTS of photos. Now that I am the
guardian of all the family photos I have a whole room in my basement filled
with boxes of loose photos and photo albums.
Although these are a treasure trove of memories, they take up a lot of
space, they are hard to enjoy, and they are hard to share. Now we have all gone digital. I take a couple thousand photos a month with
my Canon 7D. I also have a Canon Power
Shot that I carry when I need to just grab a couple of snapshots. And then there is the phone. Sometimes my iPhone is the only camera
available to take a photo of a really important moment.
So. . . how do we deal with all these photos? What is the best way to preserve our
memories?
This three part series will cover Downloading and Organizing
Your Digital Photos, Storing and Backing Up Your Digital Photos, and Preserving
Old Family Photos/Using your Photos. For
the sake of this tutorial I will assume that you are using a Windows based
computer and that you are just taking regular old photos (not RAW).
The Download
Your computer may have a slot where you can insert your memory card and download the photos to your hard drive.

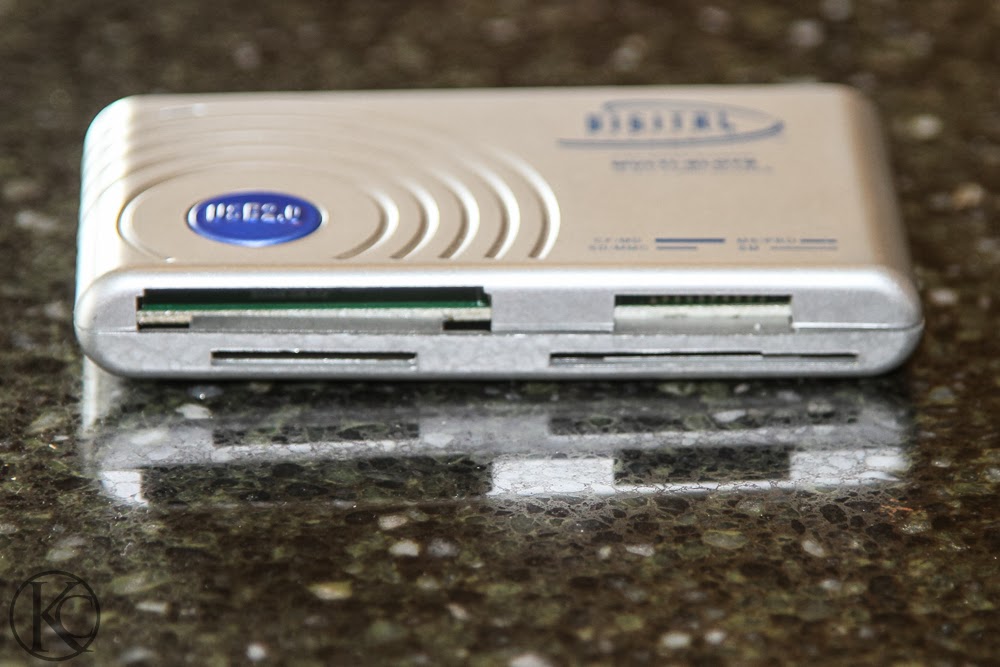
If not, you need to purchase a card
reader. The photo below is the one I
use.
If you can plug your phone into your computer, it will
usually prompt you to make a file of your photos. You should do this every few months. Otherwise, you will need to e-mail your
photos to yourself to get them onto your computer so that you can save
them. This will take a lot longer, but
if the photos are good, it is worth it.
Organizing Your
Photos
It doesn’t really matter HOW you organize your photos as
long as you are consistent. I have
always organized my photos by date. I
make a folder for the year and then a folder for each month. A trick to naming these folders is to use the
number of the month, for example “1 January 2014”, “2 February 2014”. The reason that I do this is that it keeps
the months in order. If you just use the
name of the month, the computer will arrange them alphabetically. Inside those month folders I have event
folders that tell me what the photos are, such as “Colby Graduation” or “Trip
to Maine”. This system has worked very
well for me for many years. Even if
there were two events on the same day, I will generally separate the photos
into different event folders- not just by date.
NOTE- If you have a photo editing program such as Adobe’s
Lightroom, you need to make sure that you understand how to use the program to
organize your photos and you should always move photos INSIDE the program so
that you don’t lose links.
My organizational tree would looks something like this:
2013
1 January 2013
New Year’s Day
WrestlingAF
Lewis and Clark
Birthday Party
2 February 2013
Tibble Fork
Valentines
Come back tomorrow for Part Two: Storing and Backing Up Your Photos
No comments:
Post a Comment